
8. Media
■ Media player
With the media player you can download, view, and play compatible images, audio
and video files, and animated images from a variety of sources.
The media player enables you to play streaming videos and streaming audio from a
network server. Streaming functionality is a network service and requires network
support. Check the availability of these services, pricing, and tariffs with your network
operator or the service provider whose service you want to use. Service providers
will also give you instructions on how to use their services.
In the standby mode, select
Menu
>
Media
>
Media player
and one of the following:
Online media
—Connect to the operator’s network. This is a network service.
Check with your service provider for pricing and information.
Open Gallery
—Open the
Gallery
. From
Gallery
, you can play stored audio and
video files. See "Gallery," p. 45.
Go to address
—Enter the address of a mobile Internet service, and select
OK
.
■ Radio
Your phone has an FM radio that also functions as an alarm clock radio. To listen
to the FM radio on your phone, connect a compatible music stand or stereo
headset to the connector on the bottom of the phone. The FM radio uses the wire
of the headset as an antenna. A compatible headset needs to be attached to the
device for the FM radio to function properly. The quality of a radio broadcast
depends on coverage of the radio station in that particular area.
Warning: Listen to music at a moderate level. Continuous exposure to high
volume may damage your hearing. Do not hold the device near your ear
when the loudspeaker is in use, because the volume may be extremely loud.
Turn the radio on and off
1. Connect the phone to a compatible headset or music stand.
2. In the standby mode, select
Menu
>
Media
>
Radio
. The channel location
number, the name of the radio channel (if you have saved the channel), and
the frequency of the radio channel are displayed.
To use the graphical keys
,
,
, or
on the display, scroll left or
right to the desired key, and select it.

M e d i a
48
3. If you have already saved radio channels, select
or
to scroll to the
channel you would like to listen to.
To select a radio channel location, briefly press the corresponding number keys.
4. To turn off the radio, press and hold the end key, or select
Options
>
Turn off
.
Options
With the radio on, select
Options
and one of the following:
Turn off
—Turn off the radio.
Save channel
—Save the current station to one of 20 locations (only available
with a new station entered).
Channels
—Scroll up or down to select a channel from 20 locations. With an
existing channel highlighted, select
Options
>
Delete channel
or
Rename
to
delete or rename the saved channel.
Mono output
or
Stereo output
—Listen to the radio in monaural mode (default) or
in stereo. Stereo output is available through a stereo enhancement.
Loudspeaker
or
Headset
—Listen to the radio through the speakerphone or
through the headset.
Set frequency
—Manually enter the frequency of a known radio station.
To set the radio frequency, press * and use the keypad to enter the frequency of a
known radio station.
To adjust the radio volume, press the volume up and down keys.
When an application using a browser connection is sending or receiving data, it
may interfere with the radio.
When you place or receive a call, the radio automatically mutes. When the call
ends, the radio switches back on.
Tune and save a radio channel
You can save a preset station to any one of 20 locations in memory.
1. With the radio on, select
or
to change the radio frequency in 0.1 MHz
steps, or select and hold
or
to start the channel search. Searching stops
when a channel is found.
2. To save the channel, select
Options
>
Save channel
.
3. Enter a name for the channel, and select
OK
.

M e d i a
49
■ Voice recorder
This feature enables you to record pieces of speech or sound with your device and
listen to them later. The total available time is 3 minutes with no memos stored.
The maximum length of a recording depends on how much memory remains available.
In the standby mode, select
Menu
>
Media
>
Recorder
>
Record
to start the recording
or
Recordings list
to manage the folder you have defined for recording storage.
Record speech or sound
1. In the standby mode, select
Menu
>
Media
>
Recorder
>
Record
.
2. After you hear the recorder start tone, begin recording speech or sound.
3. When you finish recording, select
Stop
and your recording is saved to the
Recordings
folder in the
Gallery
.
Options
After you have saved the recording to the
Recordings
folder, highlight the recording,
and select
Open
to listen to the recording using the earpiece; or select
Options
and one of the following.
Delete
—Erase the recording.
Rename
—Change the name of the recording.
Set as ring tone
—Use your recording as a ringtone (a carrier-dependent feature).
Details
—Show the name, size, and date of creation of the recording.
Type of view
—Select
List with details
,
List
, or
Grid
to determine how to display
the recording
Sort
—Sort the contents of the recording by name, date, format, or size.
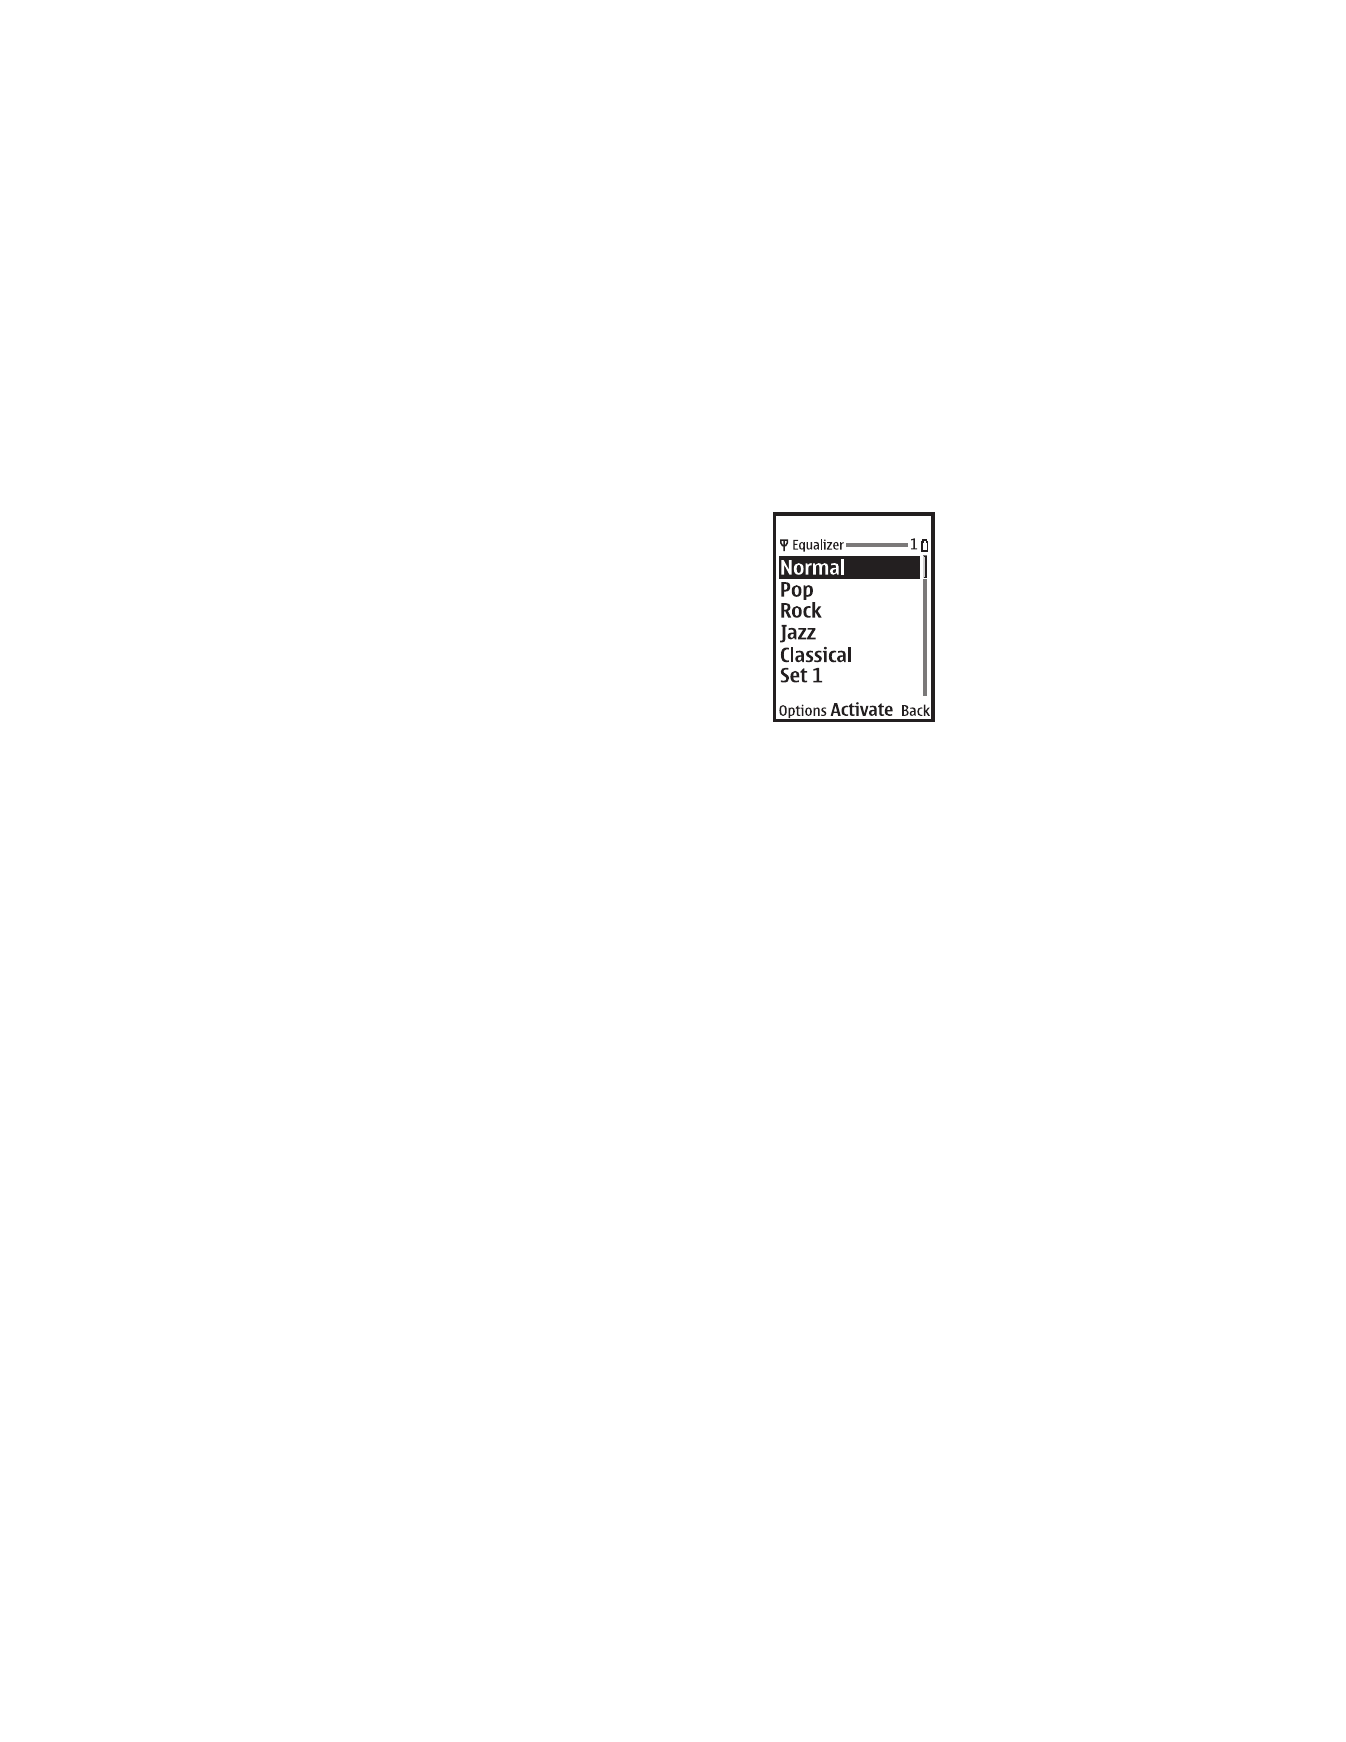
■ Media equalizer
The equalizer enhances the sound quality when using the music player by
amplifying or attenuating frequency bands. You can access five preset equalizer
settings (
Normal
,
Pop
,
Rock
,
Jazz
, and
Classical
) and two customizable settings.
Activate an equalizer set
In the standby mode, select
Menu
>
Media
>
Equalizer
, scroll to the desired
setting, and select
Activate
.
M e d i a
50
Create a custom equalizer set
1. In the standby mode, select
Menu
>
Media
>
Equalizer
.
2. Scroll to
Set 1
or
Set 2
, and select
Options
>
Edit
.
The selected set appears in the display with the
bar on the far left highlighted. The bars adjust
frequencies, from the lowest (the leftmost bar) to
the highest (the rightmost bar). The higher the
indicator on a particular bar, the more that
frequency is amplified.
3. To adjust the lowest frequency, scroll up and down
on the bar.
4. To adjust other frequencies, scroll left or right to
the other bars.
5. Repeat steps 3 and 4 to adjust the setting for each frequency; then select
Save
.
6. To rename the setting, select
Options
>
Rename
, enter a new name, and
select
OK
.
7. To activate the setting, select
Activate
.

S e t t i n g s
51